Installing Python on your computer is the first step to Python adventure. And believe me, it’s absolutely easy.
In this tutorial, I’ll show you how to install Python on a Windows machine.
So let’s dive right in!
Option 1: Using the Python installer
Step 1: Download the Python installer from the python.org downloads page.

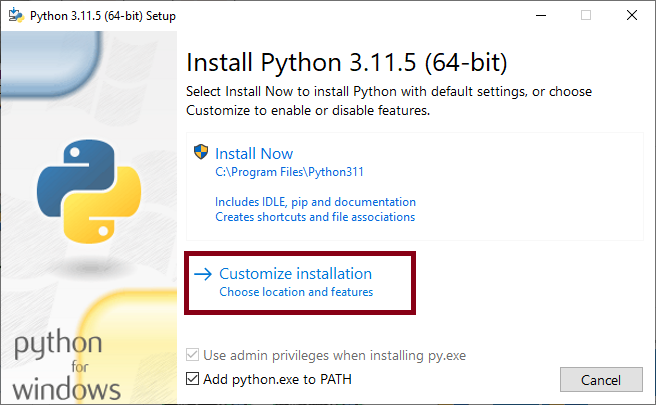
Step 2: Open the Python installer once it’s downloaded.
On the first screen, check the box “Add python.exe to PATH”. Make sure you check this box otherwise, you won’t be able to run Python programs on your system.

Step 3: Click on “Customize installation”.
Step 4: On the “Optional Features” screen, keep everything as it is. Make sure all of the boxes are checked as shown in the following image.
Then click Next.

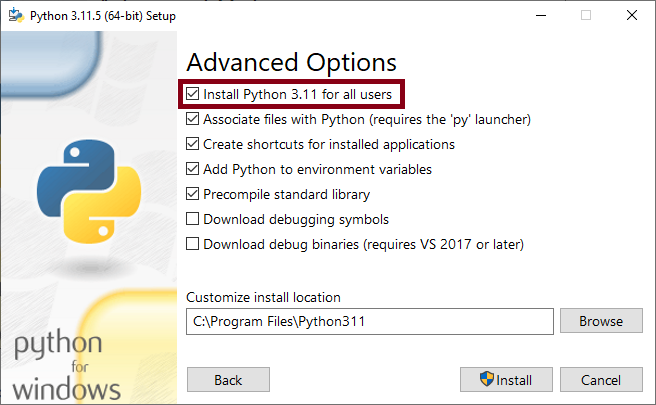
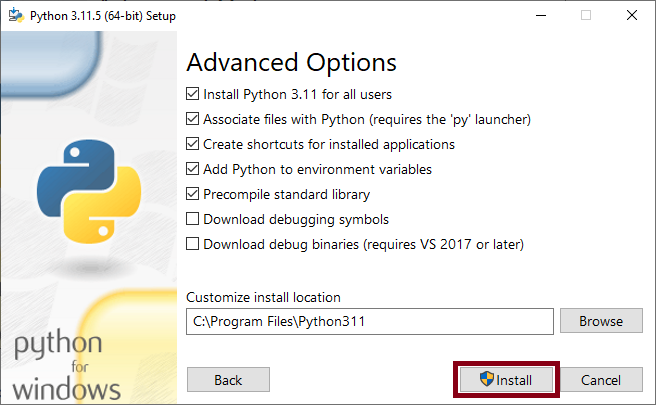
Step 5: On the “Advanced Options” screen, check the “Install Python for all users”.
This will automatically check the Precompile standard library. Keep the “Customize install location” as it is.
Step 6: Click on Install. It will ask for permission so click ‘Yes’.
This will start installing Python on your Windows system. Once it’s done, you can run Python programs on your computer.
To verify whether Python is installed on your system, you can open the command prompt and run “python –version“.

If it prints the Python version that means you’ve successfully installed it otherwise it will throw an error.
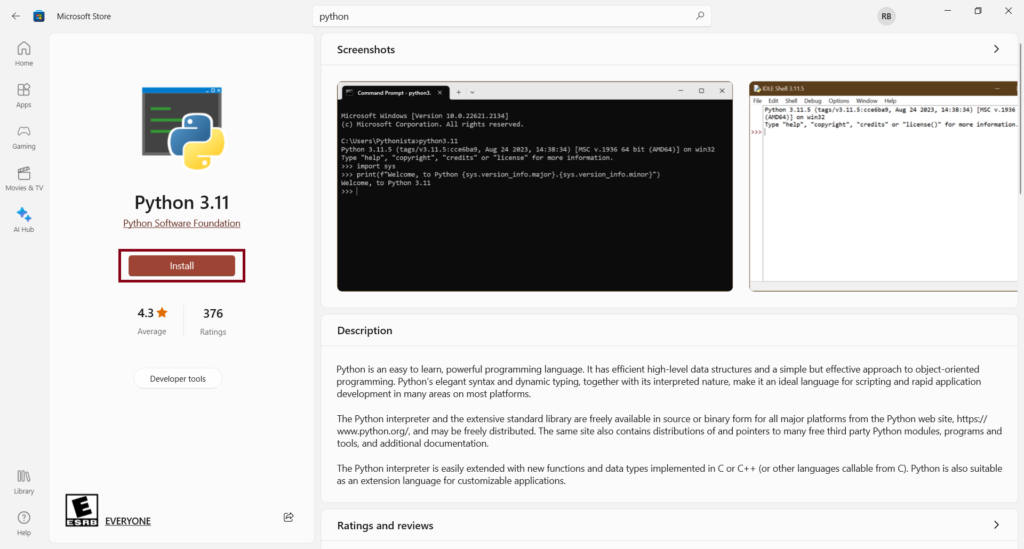
Option 2: Using Microsoft Store
Downloading and installing Python from the Microsoft Store is the easiest way of all.
Step 1: Open the Microsoft Store.
Step 2: Search for Python in the top search bar.
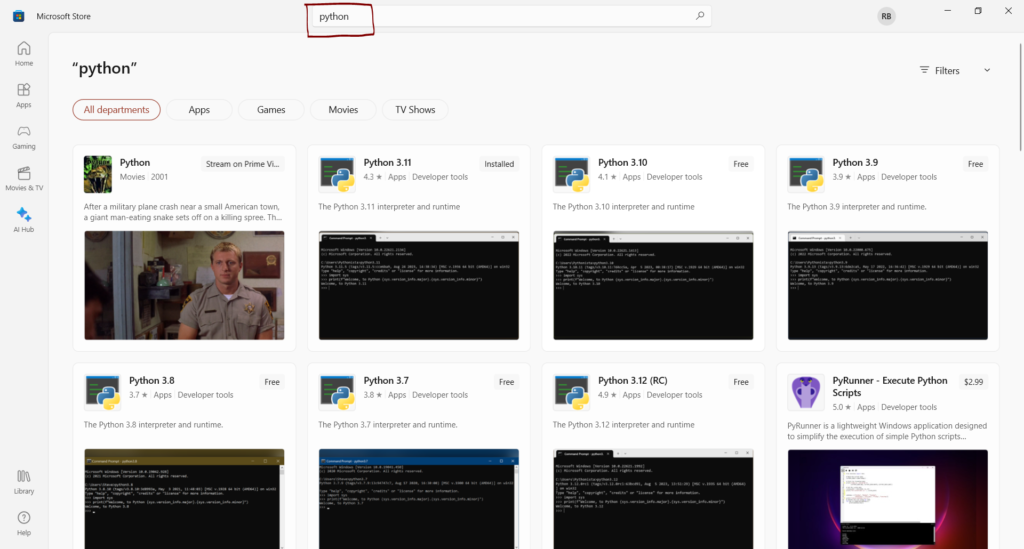
Step 3: Choose which version you want to download (go with the latest one) and click on it.
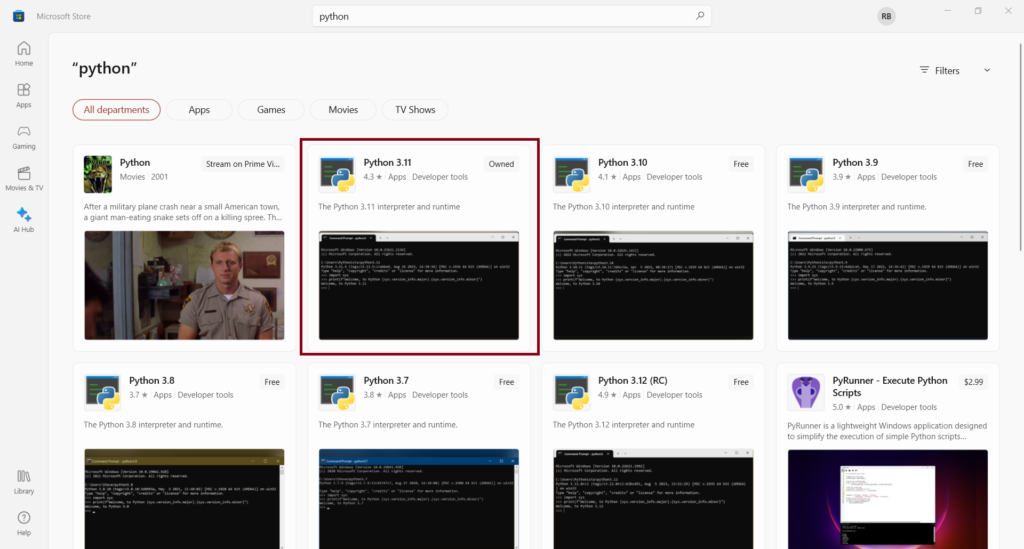
Step 4: Click on the Install button and you’re good to go!